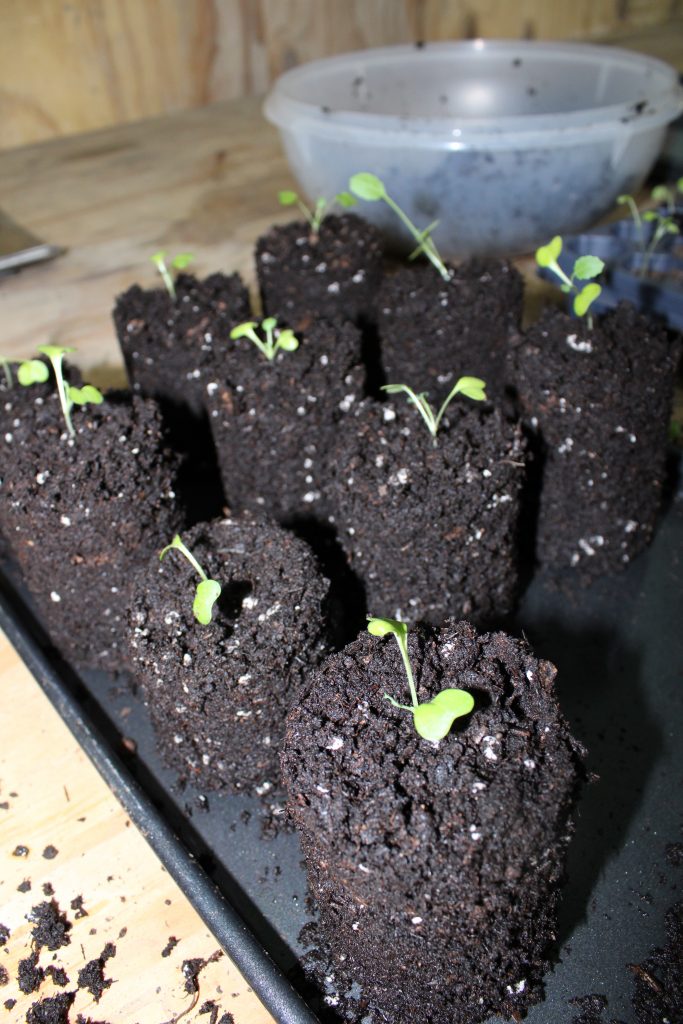
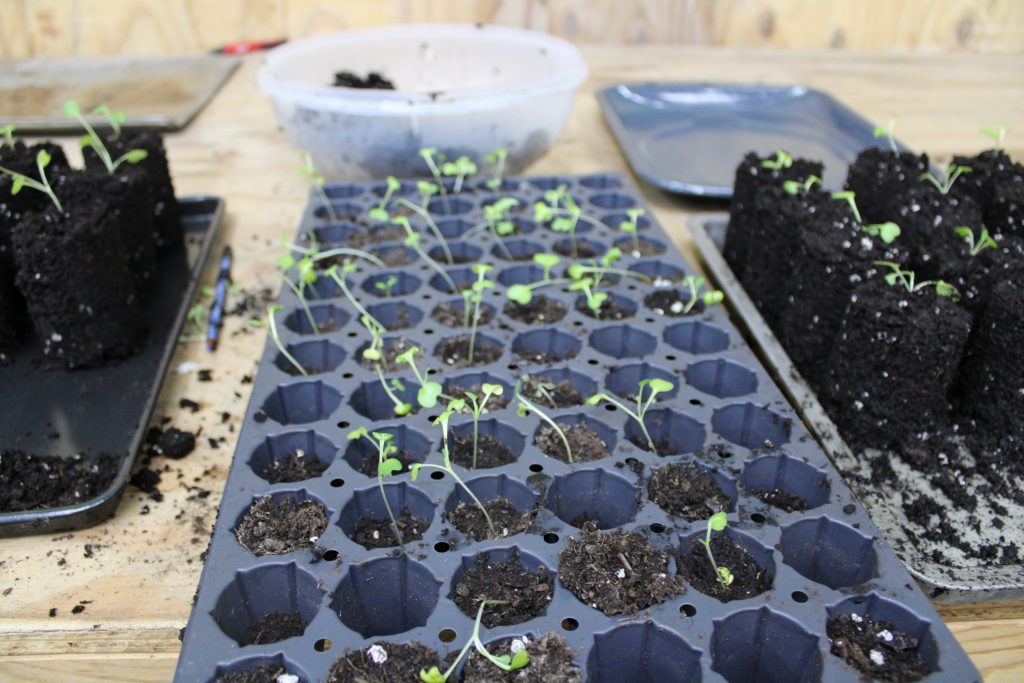
Hey there! We are back for another garden update this week, and there is so much I’ve learned. If you are new to this series, My name is Anna and I am a beginner gardener. I invite you to learn alongside me if you are also new, or just enjoy the story if you’re a pro. We now have happy and thriving seedlings! In this update, I am showing how to make your own DIY soil block press with no money spent at all. We are also going to talk about what plants need to grow. So far, the cabbage plants are doing the best out of the seedlings, and the broccoli plants are still alive, thankfully! Like I mentioned in the last gardening update, the mint and cauliflower seedlings failed, sadly. The cabbage and broccoli seem to be doing well, and are growing new leaves, how exciting!

These little guys seem to be right in the early to middle part of their growing process, and we are hoping to be able to start transitioning them outside very soon. I think that next year, I will start these seeds much earlier (this year I started them in early March). That way, they can be planted outside sooner and can enjoy the cooler spring weather. Cabbage and broccoli don’t do as well in the summer. I plan to water them extra and provide shade if need be because these lil guys are going to end up growing outside during early summer.
This season, the main plants we are looking to grow are green beans, tomatoes, peppers, onions, lettuce, strawberries, wildflowers, cabbage, and broccoli. We are also going to try to plant rhubarb, which neither of us has ever grown before. Whoopee!
Let’s discuss the current gardening craze, soil blocking!
Head over to my YouTube Channel to watch the how-to video!
I understand why it is a trend – it uses no plastic, and it costs almost nothing, which is a plus. It is also fairly easy, and pretty fun too. It does take some time, but if you find a helper it will go faster and is an activity that you can do to spend some time together 🙂
To make your own soil blocks, all you will need is an empty soda can, a glass soda bottle, a pencil, and a rimmed cookie sheet. You will also need some soil, some water, and some seeds or seedlings. Of course, there are different ways to customize this process as well! Just look around your house and see what you have that will work.

Steps to make soil blocks:
1. Carefully cut top and bottom off of soda can using a box cutter.
2. Gather up your other supplies, including a glass soda bottle and a pencil.
3. Mix soil and water together to make very wet soil.
4. Place soda can tube on rimmed cookie sheet, add wet soil and pack down using the glass bottle.
5. Continue to add soil and pack down until the soda can tube is nearly full.
6. Poke a hole with the pencil and wiggle it around to make the hole a bit bigger. Add a seedling gently to the soil and pat down soil around it with a finger. Make sure the seedling is buried up to the leaves.
7. Grab the glass bottle and turn it upside down. Place soil block on top of glass bottle and slowly push the soil block out of the soda can tube. Gently pick up the soil block and place it onto the cookie sheet.
8. You’re all done! This may take a few tries to get used to but it works great once you get the hang of it!

Now let’s answer this question: How do plants grow?
And more specifically, what do plants need in order to grow?
Plants start growing when a seed is planted in moist soil. This is called the germination process. The seed coat starts to allow water in, and the nutrients stored inside the seed provide the embryo with everything it needs to start growing. The roots start first, and then the leaves sprout up. Once the leaves are sprouted, the plant can start creating its own essential nutrients. The next part of the growth process is the one that takes a long time. This is the maturation of the plant itself, which for my cabbage and broccoli, seems to be taking forever!
We all know that the three most important factors that plants need are sunlight, carbon dioxide, and water to grow. This is because of the way plants make their own food, through a process called photosynthesis. Plants convert light energy into chemical energy using this special process. They take carbon dioxide and transform it into oxygen, and they also take water and transfer it into sugar.
We all may know this familiar Biology Lesson, but the mystery is – how MUCH light, water, and carbon dioxide? At home, we can’t adjust the amount of carbon dioxide. That leaves us to monitor water and light. Head over to my last gardening post for more details on how I figured out how much to give to my seedlings.
Here are the basic amounts of light/water for a seedling:
Enough light is about 12-16 hours of it per day: I placed mine under a fluorescent light that I leave on all day and turn off at night. I turn on a blacklight for them at night time to provide some warmth.
Water approx. 1 inch of water per week. I water mine every few days and give them just enough water that they can soak up. The nice thing about the soil blocks being on a rimmed cookie sheet is that you can pour water into the cookie sheet and the seedlings soak it all up!

I have had success with allowing the soil to dry a bit before watering again to provide just enough water. It is important to have a balance between too much and too little water for your baby plant. Hitting the mark on just the right amount makes the growth rate increase, and the tiny seed that you sow will become a large plant!
Of course, different plants need different amounts of water and sunlight, but little vegetable seedlings mostly all need about the same amount.

Takeaways this week:
Next time I start seeds, I will plant them earlier in the year to get the germination started. That way, I can plant the seedlings outside sooner so they can thrive in the cooler spring weather. One thing I plan to start here soon is to take the seedlings outside for a few hours each sunny day so that they can begin to get acclimated to the climate. Right now, it is still a bit too chilly and windy, and the seedlings aren’t yet strong enough to begin this.
Thanks so much for following along with my gardening journey!
I hope you have a wonderful week, and stay tuned for the next garden update!
Privacy Policy About Me Other Posts
Blessings,
Anna C.

Leave a Reply